Showing posts with label Costume. Show all posts

Saturday, July 20, 2019

Poison Ivy / Woodland Nymph / Whatever T-Shirt Reconstruction

So I should probably warn you, about %70 of this video is just me cutting stuff up. I didn't realize quite how much cutting was involved with making this dress. I actually made this costume a while ago, I’m not sure if anyone would be into it, but I think it’s kinda cute, even if no one could tell what it was supposed to be. So I figured I’d upload it anyway. Hopefully, that’s cool with you.
I don’t know what happened with the video quality, but I think the dress turned out okay. Hopefully, things are clear enough despite the less than ideal resolution. If you watch it on your phone it probably doesn't make much of a difference so there's that silver lining?
Making videos is hard, sewing is hard, and I feel like I have no idea what I’m doing, but dang it I’m tryin’ anyway! That’s gotta count for something, right?

Thursday, January 10, 2019

Sunflower

I made this costume for a photography meetup. It may not have turned out quite as I had planned, but I'm still glad I finished it, and I think on the right model it could be very pretty. 
To be clear: the statue of liberty is a lovely work of art and engineering, not to mention an incredibly powerful symbol...but it's not exactly the sort of thing one wants to be compared to while attempting to be light and ethereal. 
Though I said I'm not thrilled with the way things turned. That doesn't mean I hate it by any means. If I truly thought this project and the photos turned out horribly, I'd do everything within my power to ensure they never saw the light of day. 
If you like this costume or pictures, wonderful! That's why I share the things I make. I'm so thankful anytime my work makes someone happy or inspires them! Just because a creator doesn't feel something is good enough, doesn't mean you can't love and enjoy it. Beauty is in the eye of the beholder, and both ways of feeling are valid.      
Adam Berman
Robert Fletcher
Zhon Johansen
Bradley Winegar


Saturday, September 30, 2017

Blue Fairy Photoshoot

Me: You can't upload 25 pictures of yourself in a homemade fairy costume.
Also me: Why not?
Me: Because people don't just do that! It's WEIRD and it comes off in a bad way!
Also me: but I wanna
Me: Don't y-
Also me: I AM A MAJESTIC FAIRY QUEEN AND YOU CAN'T TELL ME WHAT TO DO

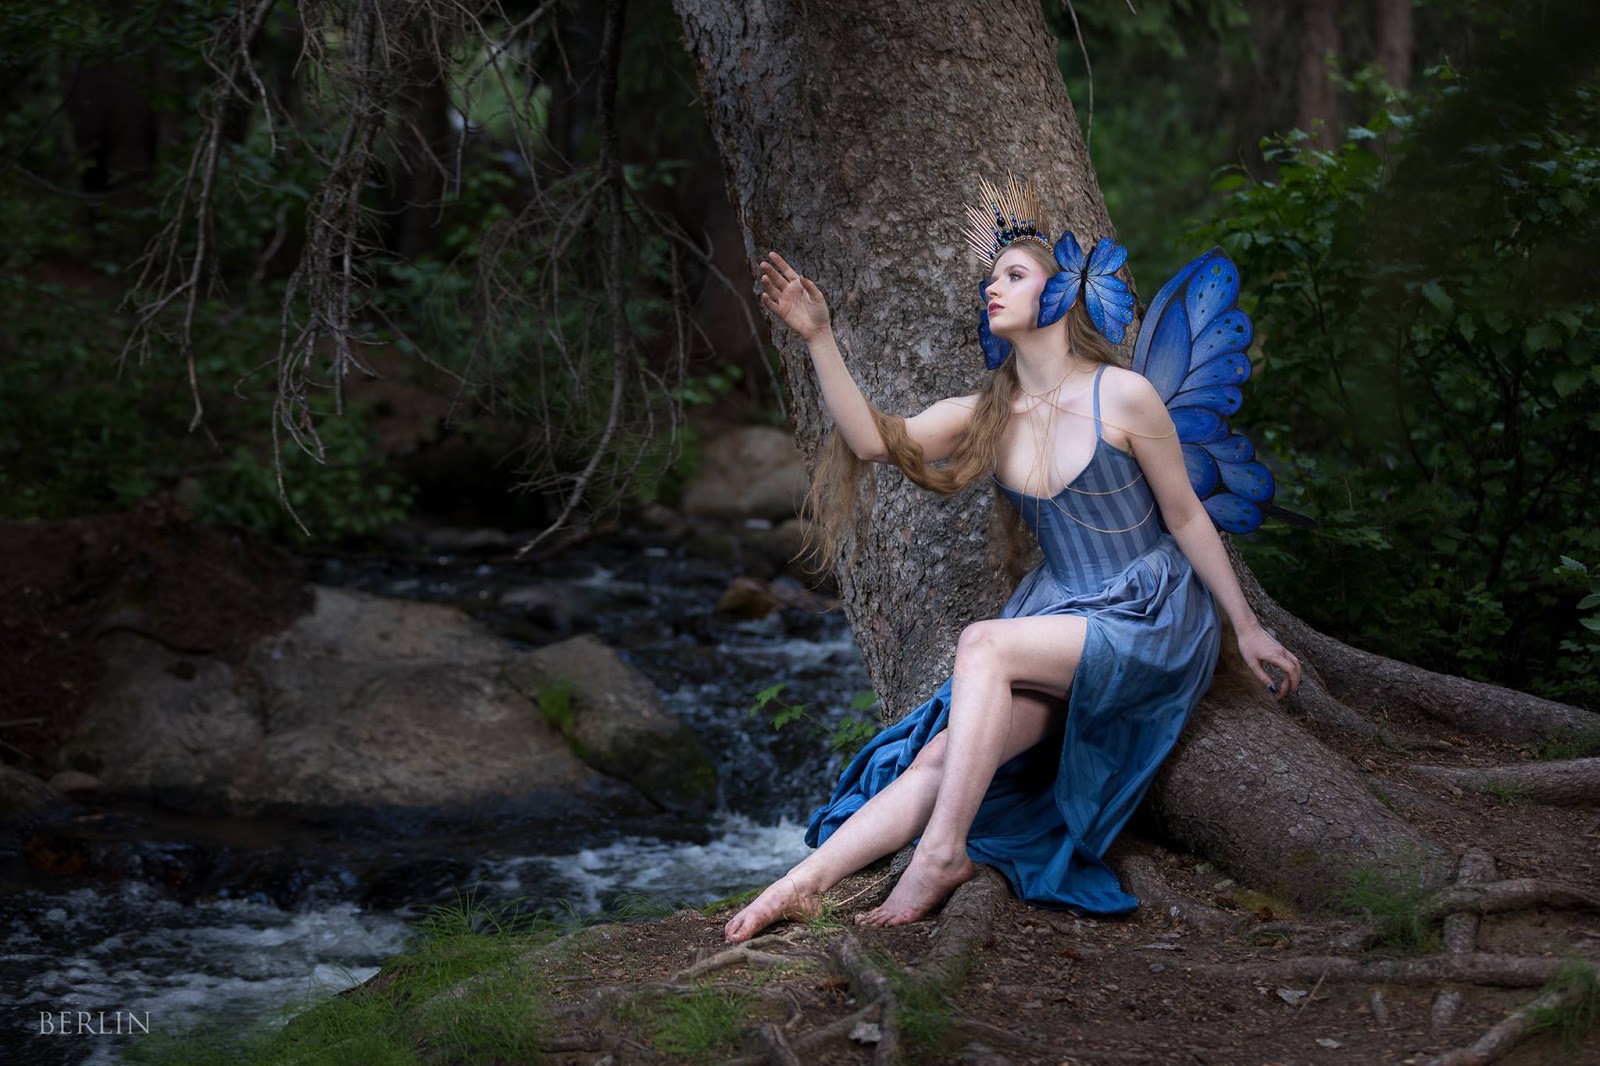
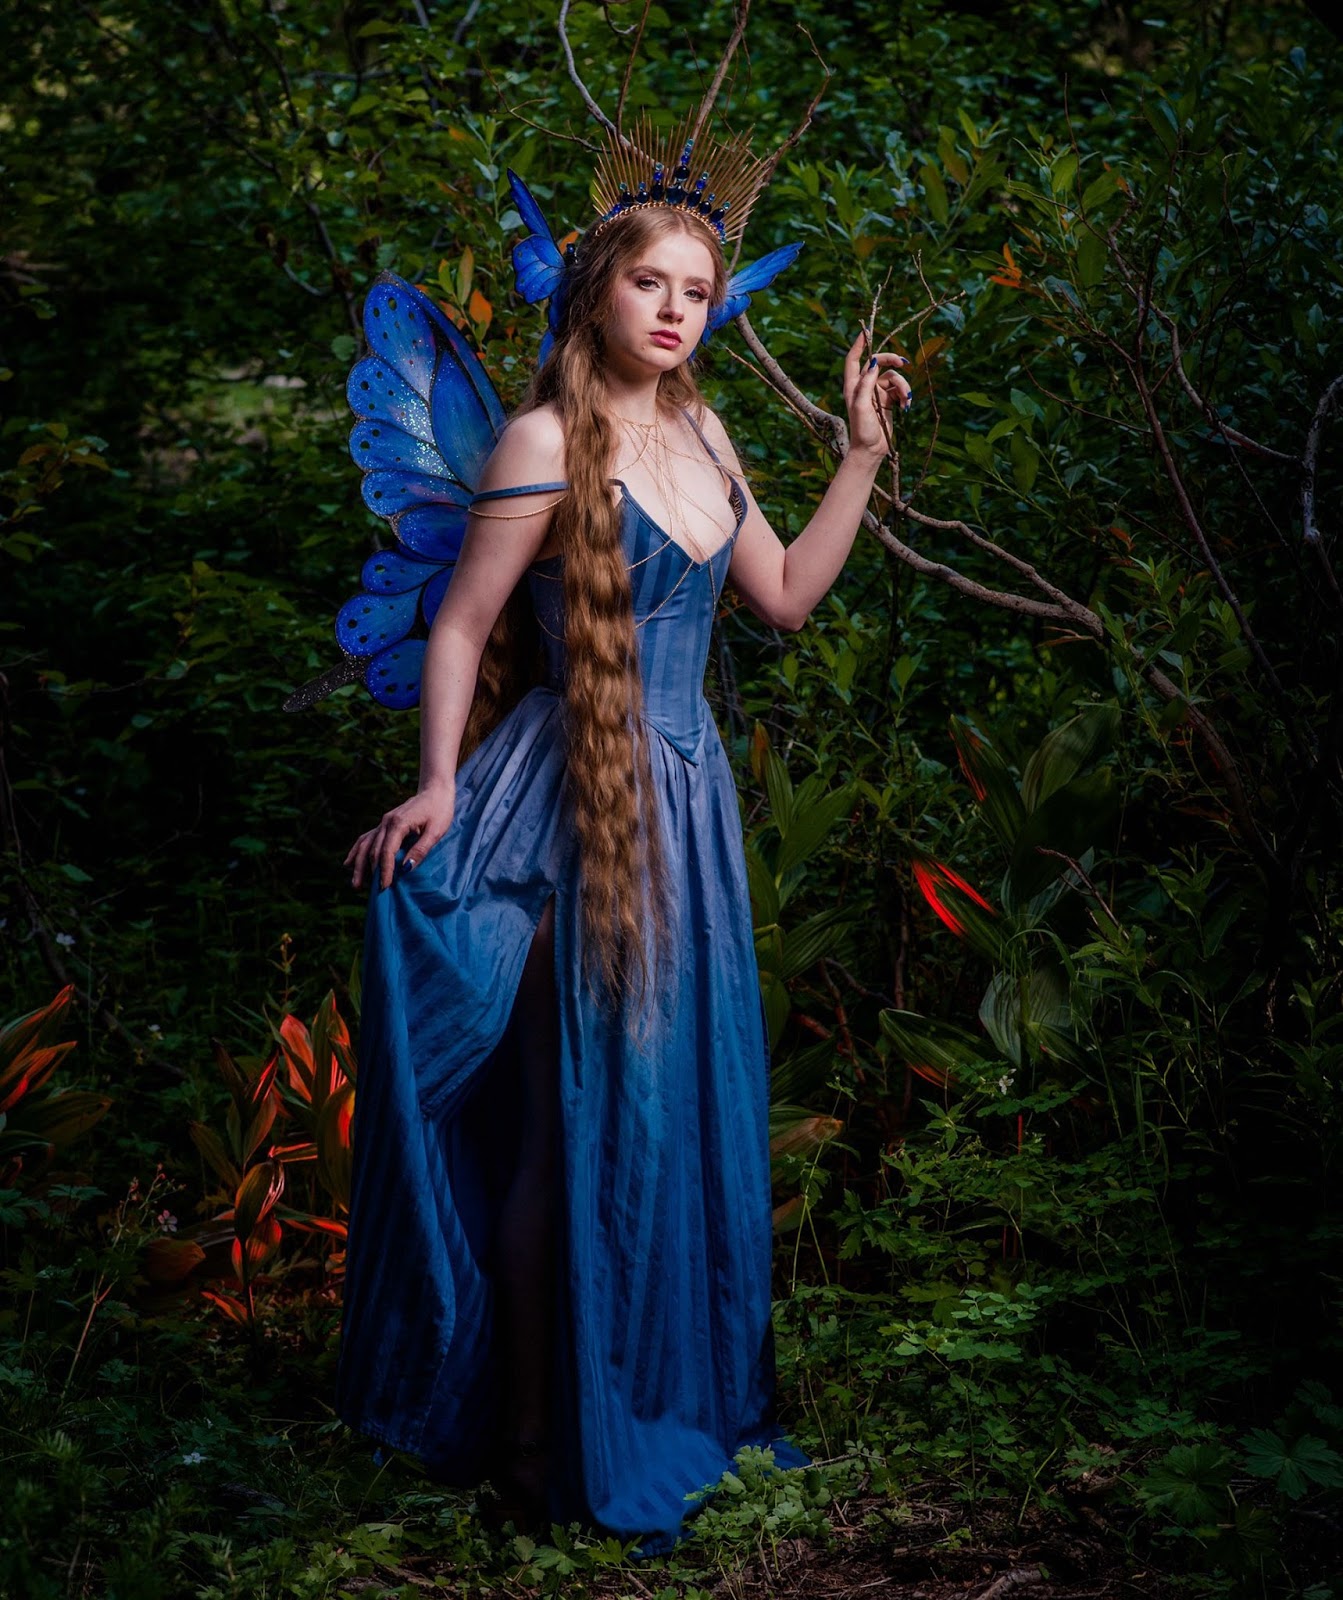
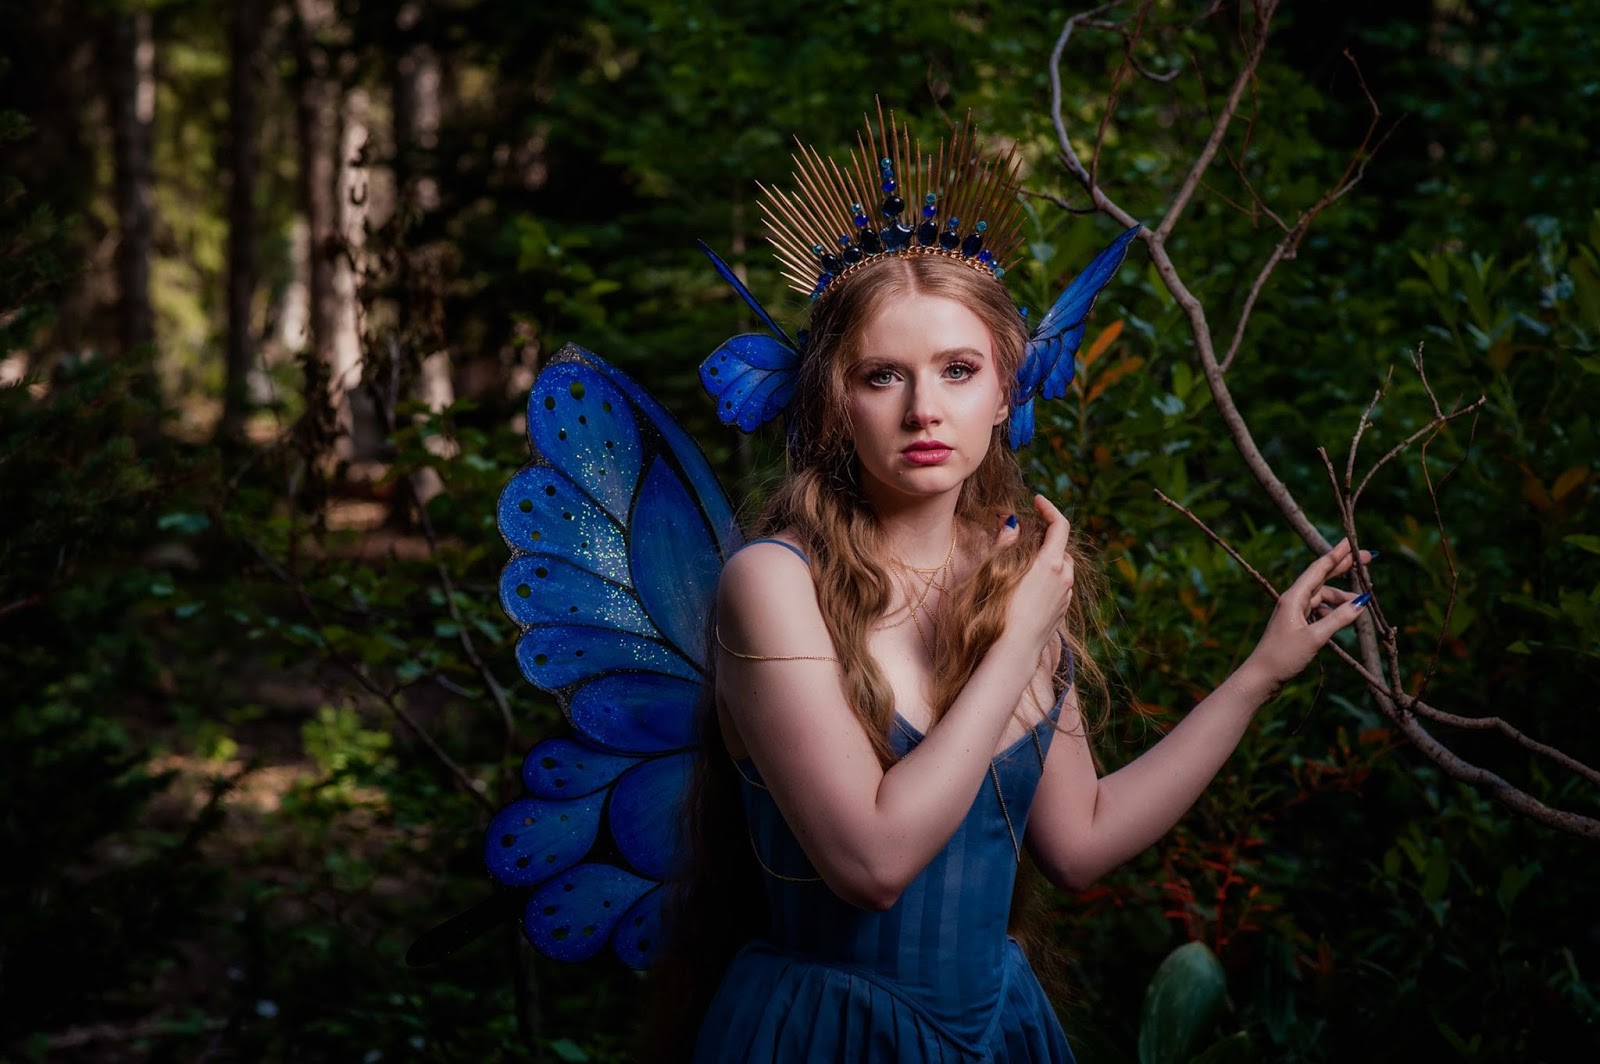
Well, the id has spoken. Here are a bunch of photos in semi-alphabetic order by photographer. Thank you so much to everyone involved in this shoot, it was a nerve wracking experience but I'm so glad I didn't chicken out. Please enjoy the pictures, and if you're interested in making any of the pieces from this costume. I have tutorials on how to make the butterfly hair clips, spiked headdress, criss cross body chain, and wings. I also have a video documenting the rather tumultuous process of making the dress, not exactly an informative tutorial, but educational in other ways.     

Costume Design/Makeup/Model: Me
Hair: Hailee Simonsen
Shoot Organizer: Tawny Horton
Photographers as follows:

Joann Vivian Mclsaac Meyers


 Did I nearly step on my own hair while trying to stand up from this pose? Yes, yes I did.

 Mike Christopher

I really went out on a limb for this shot! Dumb puns aside, I was literally standing on a branch bridging a very cold very muddy river. If my foot looks a little tense its because I really didn't want to fall in and get the costume filthy. Muddy perils aside, I think rather tall in this photo, definitely taller than 5'2" so I'm pleased.   

 Rebecca Dahl


I shot with Rebecca and Steve at the same time and I have to commend them for showing a saintly level of patience with me. From tiptoeing barefoot over pine needles and rocks, to trying to figure out what the heck to do with my arms. They were ceaselessly encouraging, and never made me feel bad for not having a clue what I was doing. Speaking from my limited experience: modeling is hard, and I need all the encouragement I can get.


 Robert Fletcher


~fairy flailing~

Steve Berlin


One of the only photos that captured the blue-ness of my highlighter! Fun fact: I totally used this photoshoot as an excuse to go out and get blue duochrome highlighter. Looks blue in person, not so much in most photos and video, still wear it though.  


This shot breaks my heart a little. I love so many of the elements, the river in the background, the way the tree's roots overlap and intertwine, the composition and palette, I think my left leg looks pretty good, BUT THOSE GOSH DARN BUTTERFLIES ARE UPSIDE DOWN!!! It drives me a little crazy. The darn things just would not stay in my hair, and because we were shooting in the woods I didn't really have a big mirror to check if I was clipping them back in the right way up. Its one of those things where theres no way of knowing how noticeable it is the another person looking at the photo, but its SUPER noticeable to me.

Val Judy


 I love the rich saturated colors in contrast with deep inky shadows in Val's shots, they remind me of a renaissance painting.  

 Valerie Jones Christiansen


 Zhon Johansen

I borrowed a pair of my mothers shoes because I had nothing that matched the rest of the costume, and I wore them for about 17 minutes before throwing them off to go climb on a tree limb. In the end they only ended up in a couple of the shots and I spent the rest of the time running around barefoot in the woods.

Tuesday, July 25, 2017

How to Ruin a Perfectly Good Duvet Cover and Make an Impractical Dress

This project wasn't quite as straight forward as I hoped it would be. After the first failed bodice I wasn't terribly diligent about filming the process of making it. So this is less of an instructional video, and more of a "join me on a stupid sewing misadventure" type video, but I still think it has some educational value...maybe...sort of ~shrugs~ 
Despite the fit being a bit off, the dye job a bit shoddy, and the fabric less than ideal, I do think I did a rather neat job on some of the finishing: hemming, binding, etc. So not a total loss. 
Sidney Eileen's drafting tutorial

On another note: I tried talking to the camera. It was very awkward, hopefully I can learn to be slightly less awkward in the future. No promises. 

Friday, June 30, 2017

Spiked Crown

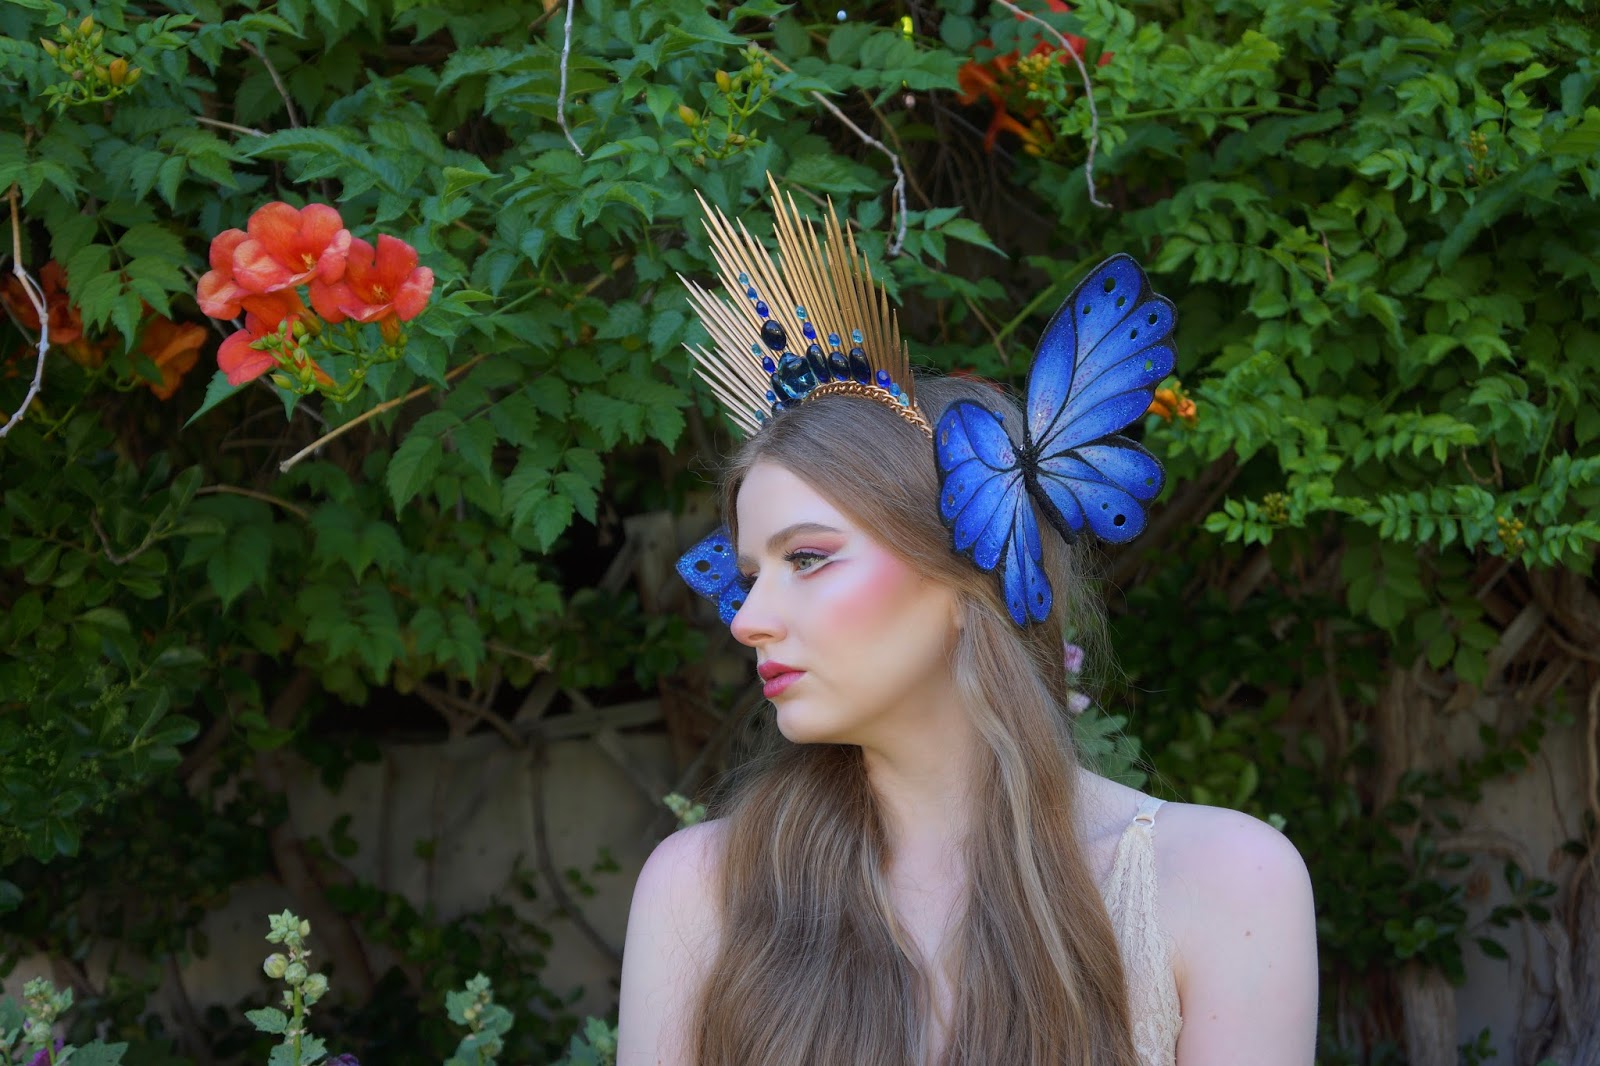
I was very inspired by the headdresses made by @hysteriamachine on instagram, and Angela Clayton's Spiked Halo Tutorial. I'm not 100% happy with the way mine turned out, the glass made it a little heavy, and the shape didn't turn out quite the way I hoped, but it was a fairly straight forward project. If you like the look, I highly recommend giving it a try, the most expensive part was the spray paint at $3.99, everything else was either free, or something I already had. 
The yarn didn't take the paint quite as well as I hoped, but I kind of expected that, luckily my hair covers most of it. I am kind of disappointed in the way that the crown looks with the butterflies, it just seems to be one of those cases where something looks much better in my head then it does on my head.

Thursday, June 15, 2017

Giant Butterfly Clips

I've made fairy wings before, using four wire hangers for large sets or two for small sets, and I was curious to see what I could make with just one hanger. 
The finished butterfly is a bit too small to wear as wings, but it's still cute and I think this experiment turned out alright. 

Thursday, September 15, 2016

Midnight Eyes Fairy Wings

Another pair of fairy wings? Yup.
For those of you looking for more detailed instructions on how to make wings like these, I wrote a tutorial a while back, and I also have a couple other pairs on the blog: mini wings, and dreamcatcher wings...I got a lotta wings.    
As usual my wings begin with wire hangers, and two pairs of the cheapest knee high nylon stockings you can find. I like the ones that come in the little plastic capsules, I can usually find them for around $0.99 at the drugstore.  
Usually, I prefer to work on white stockings because its much easier to get colors to show up vividly on a lighter colored canvas vs. a darker one, but recently its been rather hard to find white stockings at my local store. I opted for black because it seemed better then other options: brown or band-aid tan. 
I was originally inspired by the patterns on butterfly wings that mimic owls eyes in order to scare off potential predators. My design turned out a bit more literal, but who doesn't love a giant pair of unnerving blue eyes? (I am reminded of Dr. T. J. Eckleburg) 
However, before committing to the design with paint, I decided to cut out some paper templates and test a few sizes to see what looked proportional. 
The next challenge was trying to figure out how to tie in the eyes with the rest of the design. Swoopy lines...admittedly, I didn't really have much of a plan to begin with for these wings. A fact which became painfully clear when I tried (and failed) to get this design perfectly symmetrical on both wings.  
Getting cheap white paint to appear opaque on what is essentially super stretchy black netting (because stockings are so sheer) is a bit of a nightmare. Trying to get clean flowing lines...impossible. Regardless of the futility, I kept painting in thin layers until they looked decent from a distance/I wanted to burn the damned things.
Frustration aside, it was necessary to paint the design in white first if I wanted the colors I painted next to actually show up, but I don't think I'll be using dark stocking for wings again any time soon.
Unfortunately, all of the lovely pastel colors I mixed up and painted on the wings refuse to show up nicely on camera...well darn.  
At this point things were getting a bit tedious, and I really wasn't satisfied for how the wings were shaping up. (Should I mention I paint both sides of my wings? So that the design is visible from the front and back...I went through all this nonsense twice) 
And here you can see how rough the edges of my lines were, despite my best efforts. 
I thought some gems might liven things up. I was wrong.

Perhaps a hint of gold glitter will add a little dazzle? Meh.
They're pretty...I guess, but for how much time and fussing these wings took, the finished product is just a little lack-luster to me. They were tedious to make, don't look nearly as nice in photographs as they do in person, and there's just something lacking that I can't quite put my finger on.

Wednesday, March 16, 2016

Experiments: Dreamcatcher Wings

I've written a bit about my annual attempt at learning how to knit (yes, I know loom knitting doesn't really count, but at least I'm making an effort) anyhoo, as a symptom of this unfortunate habit I've developed a bit of a yarn problem. I'd hardly say its out of control, but I do have far more cheap acrylic "practice" yarn than any one person needs. So, in a long standing tradition of using materials as they were never intended I thought I'd play around with my yarn stash and try something new. My original idea was pretty simple: dreamcatcher fairy wings. The only problem, I've never actually made a dreamcatcher before...     
I began with two wire hangers.
I kept the wing shape very simple, because I wasn't sure how the dreamcatcher pattern would translate on an irregular frame shape, and I was worried the wobbly edges of a more natural wing shape might distort the dreamcatcher pattern.
I wrapped the frame with yarn.
To prevent the yarn from unraveling I brushed a few inches of the frame with glue then wrapped the yarn. A binder clip came in handy to hold the end in place if I needed to set the project down for a moment.
I felt like the frame needed a little something extra so I wrapped the top edge of the wings again, this time adding a glow in the dark bead every inch or so.  
Dream catchers are usually circular which means there is an equal distribution of tension along the perimeter, because my wings were more marquise shaped I was worried the uneven tension might warp the flexible wire frame out of shape...which it did, a little bit. I think if I were to remake these wings in a larger size I'd need to use a much stronger wire for the frame.   
Weaving the web of the dream catcher was the most time consuming part of the wings. I blame the yarn that I was using (and my complete lack of experience), because it was so stretchy I needed to keep it under constant tension or my weaving pattern would go all loopy and not look as nice. The wrapping and weaving process was also a lot more repetitive than painting some of my other wings, so the whole process seemed to take much longer.
Overall, I think this little experiment was a success, if I were to make them again I think I’d use something like embroidery floss for the weaving, and some stiffer wire for the frame. These wings feel a bit more fragile than other pairs I’ve made using stockings, but I really like the delicate shadows these wings cast when I wear them. 

Amethyst Fairy Ensemble